|
| Rebel Defiance Campaign 2: Final Results |
|
|
| Greetings Troopers!
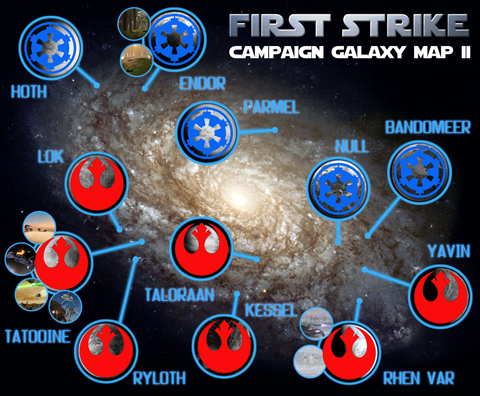
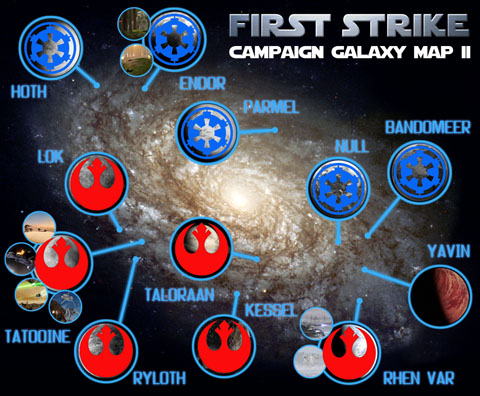
This evening the circle is now complete, and this campaign is over. Let's look at the scores and see what the final results have given us. With 50 points up for grabs tonight it was all to play for, and though fairly low numbers attended, it was still enough for us to go with the multiplayer version of the map rather than the co-op as the conflict moved to the key battle of the war in the Yavin system.
THE FINAL BATTLE: BATTLE OF YAVIN
As the low numbers of fighters from both factions engaged high over the surface of the Empire's terrible battle station, the numbers worked against the Empire in some respects, with Rebel fighters able to pull Imperial pilots out of their defensive positions when they are already spread thin trying to defend all the map's assets, but the low numbers also meant it was fairly easy for the Imperial pilots and turbolaser gunners to spot and pick off the Rebels as they attacked, so there was balance, but this additionally gave the Rebels more time to fulfill their mission, so after a pitched battle the towers were eventually neutralized and the battle over the trench began, which is where things really got serious with intense dogfighting occurring both in and above the trench. In the end the fatal blow to the Death Star came with around 60 tickets remaining from the pool of 300 that the Rebels started out with. So a hard fought battle finally came to a close with a victory for the Alliance.
With the final round the losers gain no points, so the Imperials gained nothing this week with the Rebels getting 50 points. They had two non-registered players resulting in a deduction of 1 point. So the final scores for the campaign are as follows:
Imperials - 173.5
Rebels - 177.5
Which goes to show that the current general trend in industry to hire contractors in rather than having a full roster of full-time employees is a sound one, as the Rebels who fought in this campaign were largely freelancers and mercenaries.
Anyhow congratulations to the Rebels once again.
With that pesky battle station scuppering the Empire yet again. The Emperor might like to get in contact with the Death Star's lead designers, and the chief contractors who worked on the construction of the Empire's pride and joy for a quiet chat.
So what of this coming week? Well the campaign may be over, but still head on the Rebel Defiance server to celebrate the Rebel victory and indulge in a few games of First Strike, the more the merrier.
If you've discovered First Strike over the course of this campaign and have enjoyed the experience then our job here is done. Now you just have to come back for more.
Until next time...
See you on the Battlefield Troopers!
| |
|
|
|
|
| Rebel Defiance Campaign 2: Round 7 Results |
|
|
| Greetings Troopers!
The Imperial tank commander ordered his crew to draw the S-1 Firehawke main battle tank to a halt, the heavy load lifting repulsorlifts straining to stop the momentum of the powerful hover tank, snow compacting and being pushed forward by the unseen force field. The commander had received orders to head out to the furthest outpost on their perimeter on this ice world with his squadron of tanks to investigate some unusual sensor readings in this region. Sending the rest of his tanks to the ruins in this area they used as guard post, he'd taken his own tank together with a wing man up to the top of a nearby ridge hoping to get a better view of the area. The tank's sensor readings were still inconclusive, thanks most likely to the ice blizzards and the unusual crystalline rich composition of the rocks of this planet. There was nothing for it, he'd have to go with the most reliable sensors he knew. Popping the topside hatch he braced himself for the bitter cold, and lifted himself up to the observation platform of the turret. He gazed towards the rocky horizon, not seeing anything he raised a pair of macrobinoculars to further scan the area. He then heard a strange dull thudding boom just barely cutting through the howling wind. Out of the white the commander saw a number of crimson glowing bolts arcing towards him. What the....? He threw himself back down into the turret slamming the hatch behind him, ordering his crew to brace for impact. Checking the driver's video monitor he sees the bolts strike the rock just before them and then the remaining bolts in the salvo slams next to their tank, and the last of them rip into their sister tank tearing it apart with concussive force. Plasma enveloped mortar rounds were the only weapon that behaved in that way, and would wreak such destruction. But where did they come from? Taking up the gunner position the commander scanned the ridge the bolts had appeared from, and this time spied the culprit. A Rebel Mortar Freerunner moving up on their position. The enemy should have stayed out of line of sight, they had clearly underestimated the range of the Firehawke's primary weapon, and as he lined up the shot, he made sure that would be a mistake they'd live to regret.
Following this weekend's battles let us take stock of how the war goes in that galaxy far, far away.
ROUND 1: RHEN VAR: RESEARCH FACILITY
Receiving new intelligence regarding an Imperial research facility on the ice world of Rhen Var, a Rebel strike team is dispatched to take it out of commission. Deploying from stealth enhanced Rebel transports which landed under the cover of a heavy blizzard, the Rebel forces swiftly advance to a pass overlooking one of the facilities satellite buildings, and advancing down out of the hills engage the Imperial forces defending the installation. Using the cover of the snow storm and their main attacking force as a distraction, a contingent of Rebel troops outflank the defending force with the intent of capturing the building from behind. However the Imperials are prepared for this and have the side entrance heavily defended with troops and anti infantry mines. A pitched battle ensues with the Rebels establishing a rally point nearby to allow them to intensify their attack. Grenades, proton charges and shields are all employed in the defense and assault on this location resulting in some of the fiercest fighting on the battlefield, but despite their best efforts the Rebels could not break the Imperial's defensive line, and victory went to the Empire.
ROUND 2: RHEN VAR: ICE PLAINS
In conjunction with the assault force attacking the research facility on Rhen Var, the Rebels have also deployed armoured divisions on the ice world to draw the Empire's own armour away from the facility. They are successful in this aim, but now have to face the highly effective long range Imperial Firehawke main battle tanks. The Rebels counter their disadvantage of having shorter ranged T-1B tanks by also deploying Mortar Freerunners to disrupt the Imperial frontlines long enough for the T-1Bs to get into range. This tactic does work, but once the Firehawke gunners zeroed in on the Freerunners they became priority targets which were quickly dispatched. Still the disruption was effective enough and the T-1Bs got in close enough to attack, eliminating the Firehawke's long range advantage. The Imperial forces pull back as the Rebels advance, but the battle intensifies, especially around the Harbor region. The Rebels lose something of their momentum as they come into range of Imperial reinforcements stationed at an ancient abandoned temple. They attempt swift assaults with transport Freerunners to deploy troops at the Imperial base, but were never truly successful with the Imperial defense there proving too strong, but it was enough of a disruption to allow Rebel armour to advance further and finally achieve a key Rebel victory on this battlefield.
ROUND 3: STRIKE AT PARMEL
Originally planning to head to the Taloraan system to pick up vital supplies, Rebel Alliance intelligence have instead dispatched squadrons of fighters to Parmel to attempt once more to deal with the new threat which has arisen there. Rebel X, Y and the new A-Wing starfighters move in on the Imperial research orbital station. Those pesky TIE Defenders are deployed again by the Imperial base. This time the Rebel pilots are prepared for the Empire's new advanced starfighter, as the TIE Defenders swoop in to attack the slower Y-Wings and X-Wings, the swift and nimble A-Wing Interceptors fall in behind the Empire's newest fighters and this time manage to eliminate the threat once and for all. Resulting in another victory for the Alliance.
With the penultimate rounds of this campaign completed, we see a turn in the tide of this conflict, with the Rebel team gaining a majority victory with two wins to the Empire's one. There is still a way to go for the Rebels though, even with this victory they are still trailing significantly on points. There is also still the issue of low numbers of Rebels attending, with numbers once again made up by freelancing mercenaries. Despite all this the Rebellion also gained a sector winning map victory. Low numbers present meant we went with the co-op maps this week with Strike at Parmel substituted for Taloraan which was a shame. That said, the battles were still most interesting with fairly close results for all rounds.
The Rebels had two unregistered players for two rounds each, resulting in them gaining a score of 25 minus 2 points for unregistered players, and the Empire gained 20 points with no adjustments for unregistered players. Added to the total score for the campaign so far this gives us:
Imperials - 173.5
Rebels - 128.5
This doesn't look good for the Rebels going into the final endgame of the Battle of Yavin, however remember the finale has different rules applied, such as the loser getting no points at all for the engagement which can greatly effect the outcome. Additionally, for the grand finale the winning team will gain 50 points. So even at this late stage of the campaign, with the odds stacked against them (as it should be for the Rebels after all), it is still all to play for. So next week's final map is as follows:
The Battle of Yavin
So this campaign's grand finale is finally upon us. The Rebels really need to bring their 'A' game next week and attend in greater numbers if they hope to snatch victory from the jaws of defeat.
If you feel you have the skills to help out either faction in its quest to rule the galaxy, head on over to:
Rebel Defiance Campaign Registration
To register for the campaign and restore order/freedom to the galaxy.
Until next time...
See you on the Battlefield Troopers!
| |
|
|
|
|
| Rebel Defiance Campaign 2: Round 6 Results |
|
|
| Greetings Troopers!
"I can hear it, but I can't see it!"
The demolitions specialist support trooper informed his squad leader. Where was this thing? They were used to having scanning support from orbiting Star Destroyers, a lack of this was currently proving inconvenient. They were deep in enemy territory, so none of the aforementioned orbital support. They did have Scout Walkers, but typically they were stationed all the way up the hill at the Garrison across the other side of town, not all that far away, but in their current situation it might as well be half a sector away. More heavy laser fire deafened him followed by concussive explosions throwing sand and debris into the air nearby. It was close. These damned womprat warren like alleys made it difficult to navigate though. He dashed out into a main street and saw the crimson flash of blaster fire cut across the street around a block away, a few of his squad mates pressed into alcoves of the adobe buildings for cover. He now had a clear direction to head for. Entering the next alley he sprinted at breakneck speed hearing the steady thrum of heavy repulsorlift engines. Turning the next corner he saw the brown grey battered hull of a Rebel Freerunner armoured transport, it's turret still laying down suppressive fire on his squad. He'd effectively flanked the vehicle. Reaching into his satchel he brought out two detpacks, magnetized them and running at the transport attached them under the heavy armour plate near the engines and then dove for cover while notifying his squad of the situation.
"Here comes the BOOM!!"
After a ground shaking explosion the crouching trooper is rained upon by burning debris. Turning he see's his squadleader who shouldering his blaster offers him a hand up, to which he responds.
"Damn I love my job."
With the sixth round of battles for the campaign completed, lets see how our two factions fared this week.
ROUND 1: TATOOINE: BESTINE
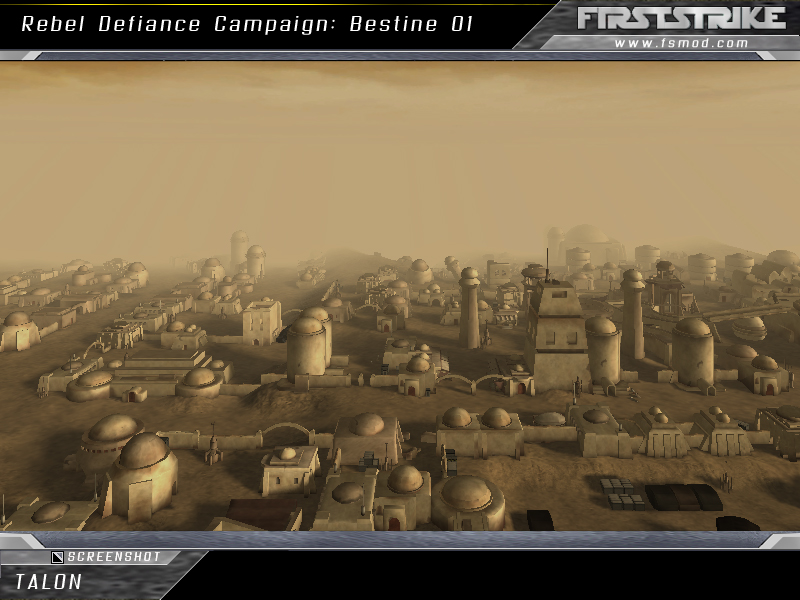
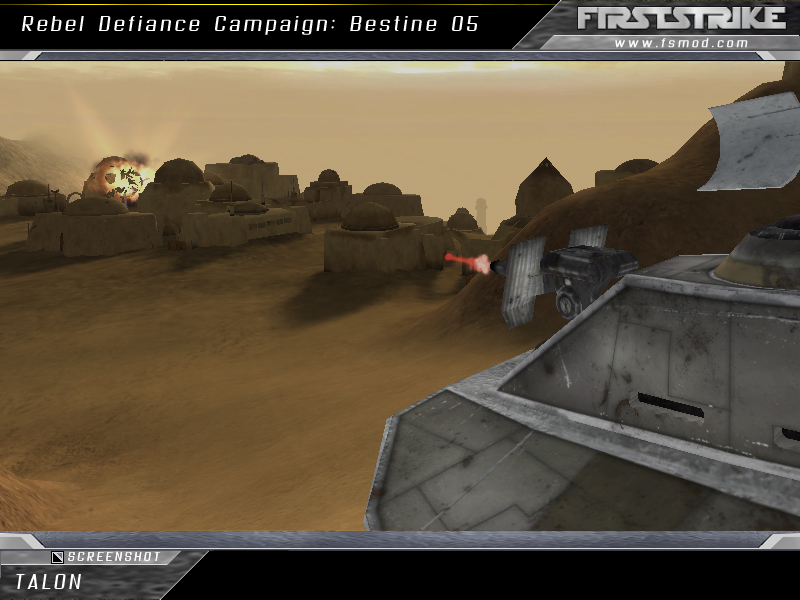
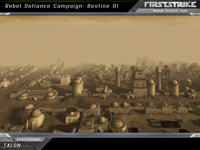
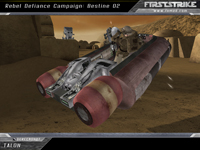
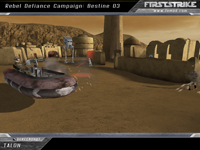
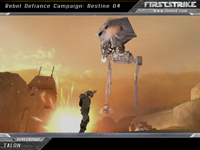
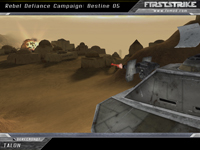
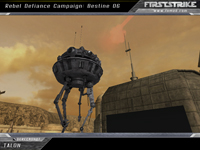
Despite already securing the sector containing the Tatooine system, Rebel forces must remain vigilant. An Imperial Company of Stormtroopers have been surgically dropped into Tatooine's ex-Imperial capital city of Bestine. With armoured support they have managed to retake the city and now control the Imperial Garrison complex overlooking the desert city. Rebel troops have been sent in to swiftly eliminate the Imperial threat. With the Empire holding the advantageous high ground this could be easier said than done however. With the Imperial forces already stretched thin the Rebel troops found advancing through the city to be a relatively easy affair, but when it came time to scale the hill leading to the Imperial Garrison, things did not go so well for the Rebels. Initially their push was successful and they gained a foothold at the top of the mesa. But when faced with the lethal firepower of Imperial Scout Walkers things started to turn. That said even in the face of those odds the Rebels still persevered, destroying the walker using guile and high explosives. However, the closer they got to the garrison, the more of the Empire's deadly toys they faced. When Viper Probe Droids were deployed this turned the tide and the Rebel troops had to retreat to their foothold location atop the mesa. It was here that the majority of the battle was fought with valiant Rebel troops holding on to that valuable territory as they awaited armoured support from Rebel Freerunner transports and military speeders, while taking the full force of further AT-ST Walker assaults and infantry incursions on their position. In the end the Imperial's hold on the area was just too strong and the Rebels fighting that day fell to the might of the Empire.
ROUND 2: LOK WASTELANDS
Following prior incursions into Rebel Alliance controlled space, Imperial forces have established a beach head on the remote world of Lok. Racing against a Rebel armoured division to secure valuable tactical assets in the region, an Imperial armoured column of Firehawke tanks move into the nearby valley. The initial contact is successful with Rebel T-1B tanks falling foul of the Firehawke's longer range weaponry. In conjunction with a scout recon force mounted on armoured Speederbikes the Imperial forces managed to sucessfully secure the assets in the region. This was followed by A Rebel counter attack which included additional waves of tanks and covert infantry units tasked with infiltrating the asset complexes. This resulted in a two teer battle with infantry firefights within the buildings while powerful tanks still engaged each other outside. The infantry caused the Imperial forces issues for a time, but we're eventually flushed out and eradicated, resulting in another victory for the Empire.
ROUND 3: ESCAPE FROM HOTH
Hoping to avoid the brunt of the starships constituting the Imperial blockade of the planet, two remaining Rebel Transports head off in a different escape vector to the rest of the evacuating fleet, but unfortunately still run into a single Imperial Star Destroyer covering that sector of Hoth's orbital space. Ion Cannon fire from the surface disable the mighty ship temporarily leaving the transports and their escort fighters a good chance of escape if they can deal with the warship's compliment of starfighters and bombers. The Rebel Y-Wings swoop in swiftly to take care of the Star Destroyer's heavy guns. Though main power is out these guns are still operational due to tapping the capital ship's auxiliary power reserves. TIE Fighters are immediately launched to engage the attacking fighters, but they have support in the form of X-Wing fighters covering their backs. A pitched battle then ensues with both factions' fighters vying for position over the disabled war cruiser. With the last of the heavy turbolasers destroyed the Transports begin their escape run. TIE Bombers are deployed and execute bombing runs on various vectors to take out the Rebel ships before they reach the hyperspace beacon. The remaining Rebel fighters continue to run interference to hamper the Imperial pilots' efforts together with the defensive turrets mounted on the transports. Multiple torpedoes head the way of the fleeing ships, but expert shield deployment and steady handed gunners see both Rebel ships make good their escape. Looks like this Imperial Captain is in trouble now.
With the end of the sixth round of battles we've seen some solid games this week. The 32 player Tatooine: Bestine map played remarkably well despite relatively low numbers. Also being such a big map it allowed players who may have only played the co-op version the opportunity to explore huge areas not touched by that version of the map. The game here was lengthy, but never boring with the battle toing and froing right up to the last moments, a very close match indeed. Lok was also an interesting map that not many newcomers might have played due to there being no co-op version. This too played well with a nice balance of tank and infantry combat. Definitely two maps it was worth taking the time to go in there and play despite their respective galactic sectors already having been won.
  With one victory for the Rebels, and two for the Empire we have a score this week of 20 for the Rebs, minus 1 for unregistered players. And the Empire gains a score of 25, minus 1 for an unregistered player. Adding that to the overall scores we now have: Imperials - 153.5
Rebels - 105.5With the Rebels now getting into treble figures it shows that the Alliance may be down, but they are by no means out. There were also a few more new faces this week to help bolster the Rebels' ranks, hopefully they'll stick around and we'll see a proper showdown for the end of this campaign. Also don't forget that the endgame rules mean bonus points for the victor, so even though the Empire look to have an insurmountable lead, that might not necessarily be the case. Next week is the penultimate round of battles for this campaign. With only one sector left to fight for all the action will take place at that location with two battles taking place on the surface of the ice world of Rhen Var. Whoever is victorious there will gain power over the final sector, and the week after will see the endgame battle over Yavin. The full list of battlefields for next week are as follows: Rhen Var: Research Facility
Rhen Var: Ice Plains
Battle of TaloraanIt is a dark time, the Empire looks to be tightening its iron grip on the galaxy. Can the Rebel Alliance ever hope to defeat their powerful foe? If you feel you have the skills to help out either faction in its quest to rule the galaxy, head on over to: Rebel Defiance Campaign RegistrationTo register for the campaign and restore order/freedom to the galaxy. Until next time... See you on the Battlefield Troopers! | |
|
|
|
|
| |


 Closed Alpha Test & Deth..